Understanding Artwork vs. Stitch Instructions
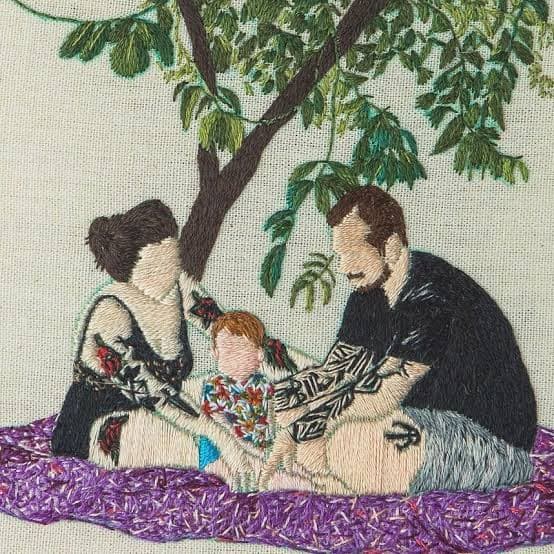
If you're new to custom apparel, logos, or branding, you've probably heard the terms embroidery digitizing and vector art used interchangeably. While both processes involve preparing artwork for production, they serve completely different purposes.
Understanding the difference can help you avoid costly production mistakes and ensure your designs look professional on garments, patches, hats, and promotional products.
The Quick Summary: Think of vector art as the graphic blueprint and embroidery digitizing as the physical engineering. Vector art creates shapes using math; digitizing creates stitch instructions for a physical machine.
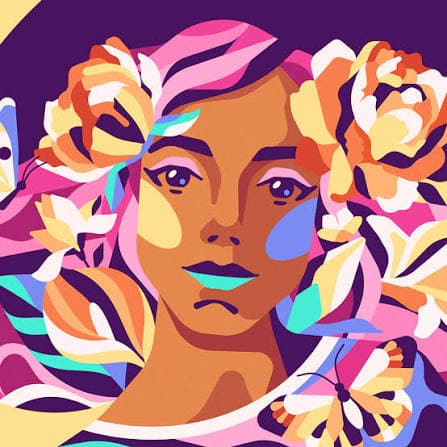
What Is Vector Art?
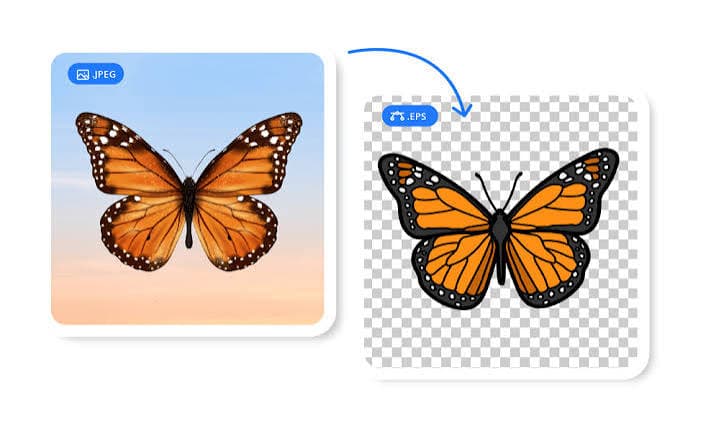
Vector art is a graphic created using mathematical paths, nodes, and curves rather than static pixels. Unlike raster images (JPG or PNG), vector files can be scaled to any size from a business card to a billboard, without losing clarity or becoming pixelated.
- AI (Adobe Illustrator)
- EPS (Encapsulated PostScript)
- SVG (Scalable Vector Graphics)
- PDF (Vector-based)
Businesses often use a vector art conversion service to recreate low-resolution images into clean, scalable artwork suitable for screen printing, vinyl cutting, and general branding.
What Is Embroidery Digitizing?
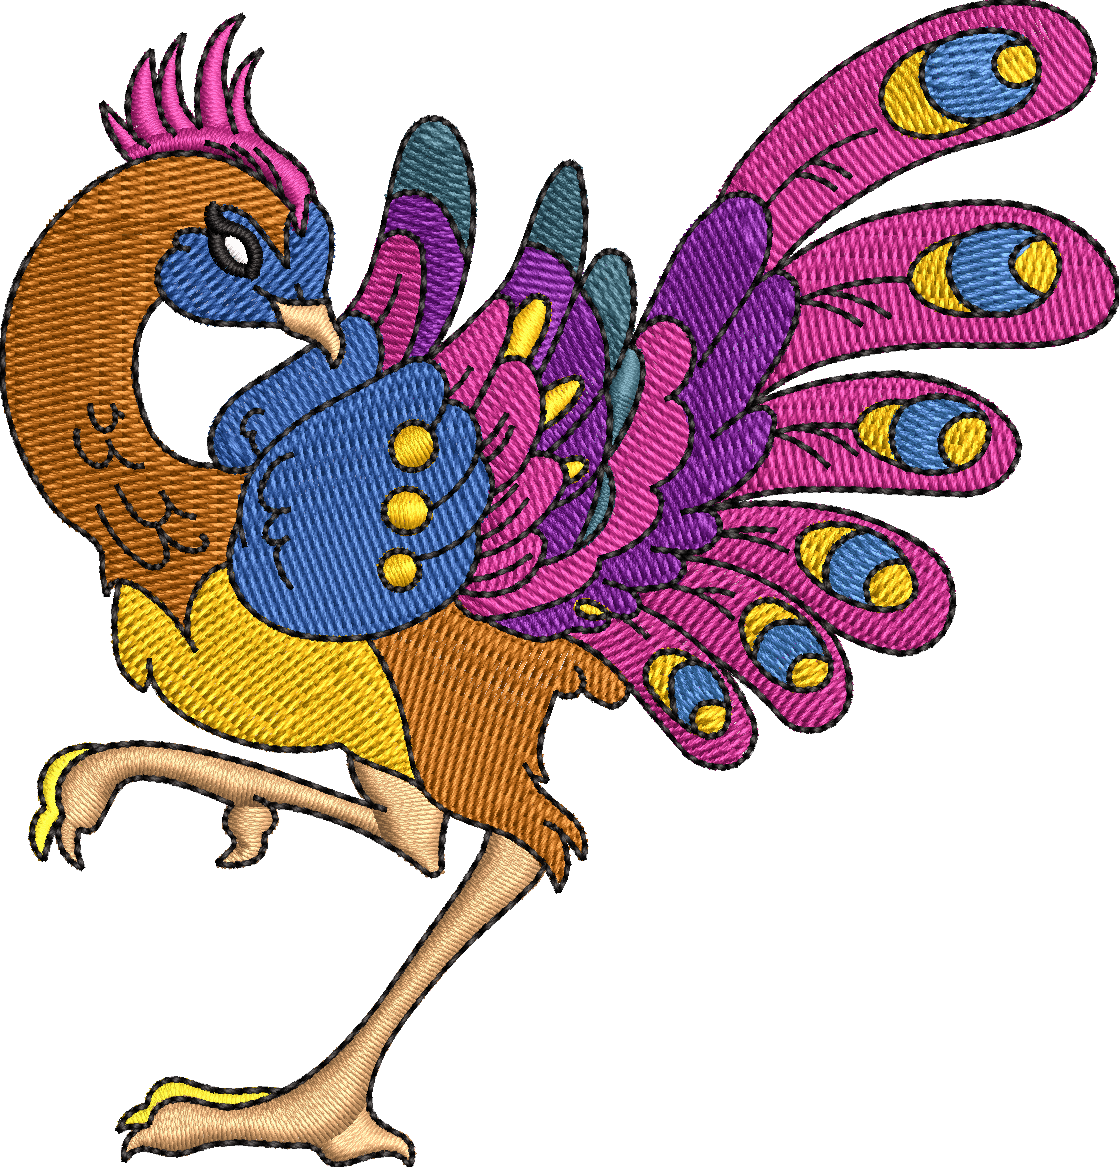
Embroidery digitizing is the specialized process of converting 2D artwork into a machine-readable embroidery file containing specific stitch commands. A logo isn't stitched the same way it's drawn; thread behaves differently than ink or pixels on a screen.
- Stitch Types & Angles: Satin, fill (tatami), or running stitches arranged to catch the light correctly.
- Sequence & Color Changes: The exact order in which thread colors sew out to minimize jumps and thread trims.
- Underlay Settings: Base stitching that stabilizes the fabric before the top design is applied.
- Pull Compensation & Density: Manual adjustments that counteract fabric stretch and thread tension.
Because embroidery machines process physical thread on flexible fabric, simply "auto-converting" a graphic with software fails to produce clean, commercial-quality results.
Common Myths Debunked
Myth #1: Vector files can be loaded directly into an embroidery machine.
Fact: No. Even a flawless vector file (AI or EPS) must undergo digitizing to generate stitch coordinates (.DST, .PES, etc.).
Myth #2: Auto-digitizing software produces professional results.
Fact: False. Automatic converters cannot accurately calculate underlay support, sequence jumps, or compensate for different fabric weights and tensions.
Myth #3: Vector art and digitizing are the same thing.
Fact: False. Vector art controls visual dimensions; digitizing translates visuals into physical thread paths.
Continue Reading
Comments
Share your thoughts. Comments are reviewed before publishing.